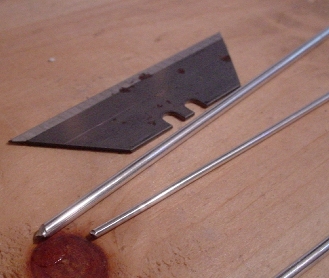
 | A needle file, some sandpaper and a utility knife blade are the only tools involved. A small ruler or dial caliper (digital is even better!) will help for making several of the same size. A piece of wood is also required. Use 1/8" aluminum welding rod to represent a 3" diameter breather. |
| Getting a domed end on the end of the rod is the first step:Use the utility knife blade to cut the rod. Lay it on a piece of wood and roll the rod back and forth while pressing down firmly on the blade. Cutting the rod in this manner gives a nice "dome" to the cut end. | 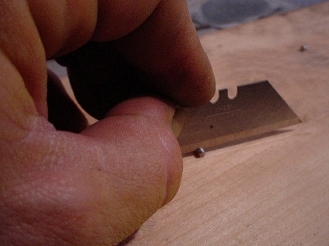 |
|
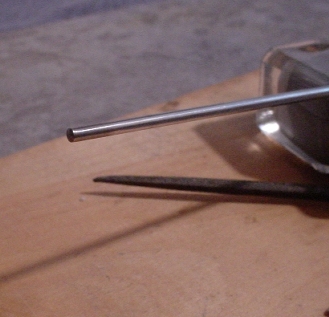 | A bit of filing to smooth the ridges left from cutting, and some sanding (I use 400 or 600 grit) will leave a smooth, brushed finish with a nice dome to it. |
| The next step is to figure out how tall you want the finished part to be. I just "eyeball it", I haven't done any measurements, so I just go with what looks right. After you figure out where to make the cut, it's time to cut again. | 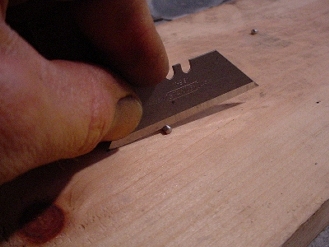 |
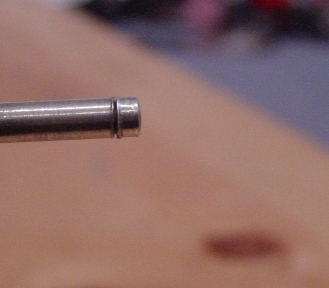 | The reason for rolling the rod across a piece of wood is that it allows the metal to deform, leaving a flared ridge at the cutting line. This is an important detail!! |
| Keep cutting all the way through the rod.Be careful as the tiny piece you are cutting off could go flying into oblivion! It's happened to me more than once! | 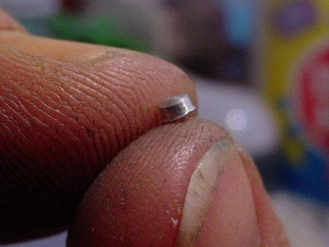 |
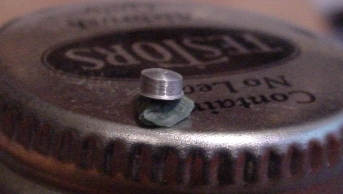
Simple, cost-effective and realistic! Looks high-tech too! The aluminum rod can also be used to form exhaust systems and rollcages, just be aware that it doesn't bend to an extremely tight radius, it will break.