 |
|
|
|
 |
|
|
|
|
|
|
|
|
|
|
|
|
|
Basic Suspension
Lowering.
This article deals with lowering
typical model car front suspensions.
 |
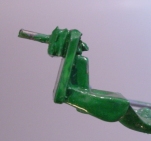
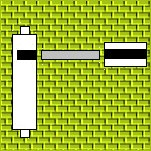
The simplest solution (if the wheel pins on the stock spindles are not centered) is to swap the spindles left-to-right or upside down. | ||
|
| |||
 |
 |
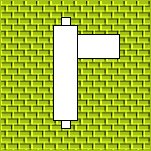 | |
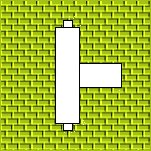
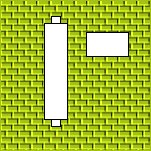
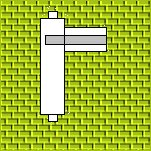
| If the spindle has the wheel mounts centered, as above, the mounts can be cut off. | After cutting them off, move them to the desired position. | Then, reattach them using super glue, epoxy or liquid cement | |
|
| |||
|
|
 |
 | |
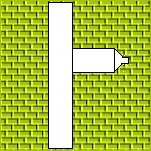
| Sometimes it is hard to align the pieces for gluing. Starting with the same kit pieces.... | ...drill a hole into the spindle and through the wheel mount, after establishing the desired ride height. Cut a length of music wire, or old kit axles, to insert in the drilled holes | The music wire will help align and reinforce the finished spindle | |
|
| |||
 |
 |
 |
 |
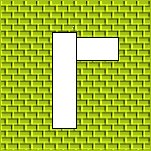
| Find two pieces of sprue, or unused kit parts, that looks somewhat like the image above. Trim as needed. | Figure out the desired ride height of the model, then cut the sprues accordingly. | Drill a hole through the long part of the sprue, sized to fit a kit axle or piece of music wire. | The wire will act as the pins to hold the finished spindle in place on the suspension. |
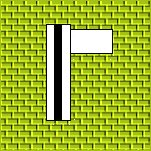
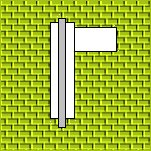
Revell/Monogram models tend to have a different sort of front suspension. On these models, the spindles are molded to the rest of the front suspension assembly instead of being seperate parts. For these, I just cut off the pin that the wheel mounts to and move it higher. If that isn't enough, the "spindle" can be removed and replaced with a bit of plastic. I use the "flags" from sprues, the little tags with the part # or the manufacturers name. | ||
|