 |
|
|
|
|
 |
|
|
|
|
|
|
|
|
|
|
|
|
|
|
|
|
|
|
Scratchbuilding an Oil Cooler:
I have been having a few problems getting clear pics of this procedure. I'll keep trying.
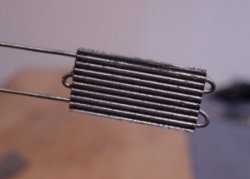
The main ingredient in this oil cooler is Evergreen ""Metal Siding" with .030" groove spacing. This is sheet plastic with grooves, made to represent metal siding. Cut 2 pieces of the sheet about 7mm by 14mm, with the grooves running longwise. Glue them "back-to-back", with the grooves facing out. This will represent the "heat exchanger" part of the cooler. Depending on the level of detail you want, you can stop here and just add inlet and outlet lines - but I'm going a bit further.
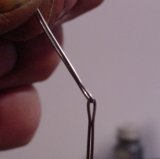 |
Grab some 24 guage bead wire. Bend one piece of wire over another to make a U-shape with a tight radius. |
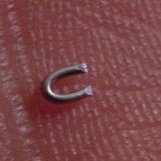 | Cut the looped end off to make something similar to this. You will need at least 3 of these (more if you're making a larger cooler). That cool background is the palm of my hand. |
  |
Mark the plastic "cooler" with 4 lines on each end, spaced to fit your metal U's. Using a pin vise, drill holes on the centerline of the plastic using these lines as a guide. Drill from both ends, lining them up as well as possible. |