 |
|
A how-to on building a roof rack for your wagon/van
By: Dave Young
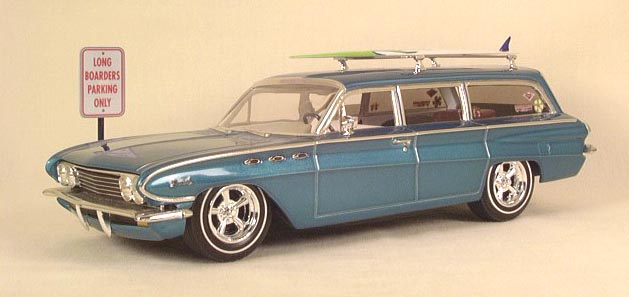
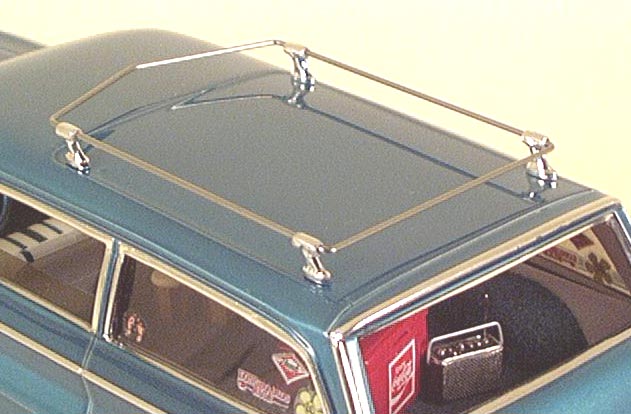
This is a how-to on building a roof rack like the one I built for my Buick surf wagon.
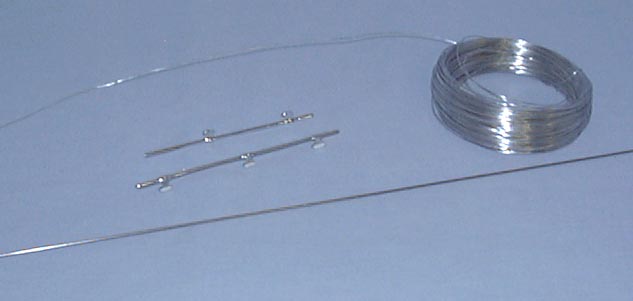
The parts you will need will be the side bed rails from the AMT '59 El Camino kit, at least 12" of .032 dia. steel music wire, and some very fine flower/hobby wire (this step is optional).
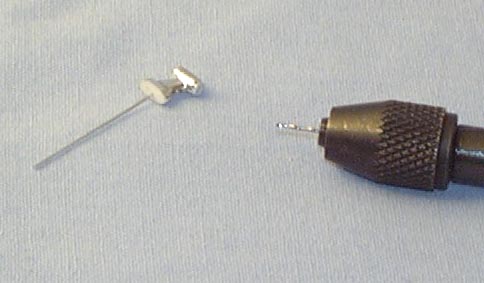
Cut the railing away from the stanchions on the bedside rails, make sure to file the bottoms of the stanchions smooth as well.
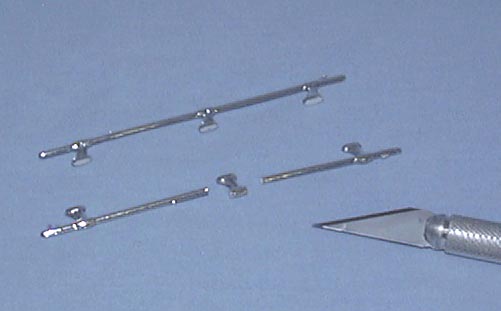
Drill out the stanchions all the way through so the music wire will slide in them easily. I also went ahead and tidied up the tops of the stanchions, sanding off the mold seams and ejector pin marks, then foiled the tops of them. Your call on this step.
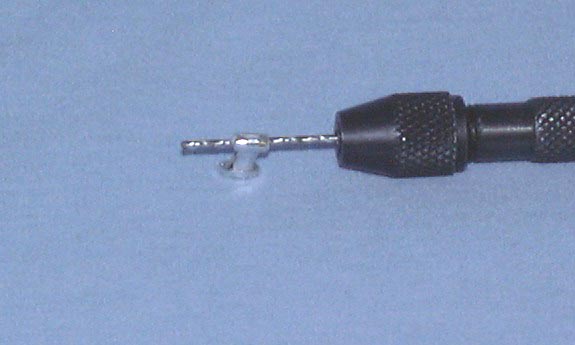
This part is optional. I use the fine flower/hobby wire to help fasten mirrors, stanchions and other trinkets on my models. Drill a very small hole (not too deep!) on the bottom of the stanchions, and super glue a small length of fine wire in the holes. trim wire so you have about 1/4" or so sticking out. Drill holes in the roof in the appropriate locations, and feed the stanchion wires through. Once in place, bend the wire flat on the underside. Add a dab of super glue to the wire, and the stanchions will stay put pretty good.
Okay, now the fun part. Once you have determined the placement of your stanchions, take your needle nose pliers and make a "vee" for the center of your front rail piece, then bend the wires straight back on both ends so they will slide into the holes in the stanchions. You may want to make a "mock-up" of the front piece out of the thin wire and use it for a pattern for the final piece. Make sure you leave enough room inside the stanchion holes for the side rail wires to fit in there too. Cut 2 pieces of wire in the proper length for the side rails. Slide them through the rear stanchions and into the front ones upon final assembly.

The rear rail is made by simply bending two 90 degree angles in the music wire at the proper width Again, you may want to make a "mock-up" thin wire version for a pattern first.
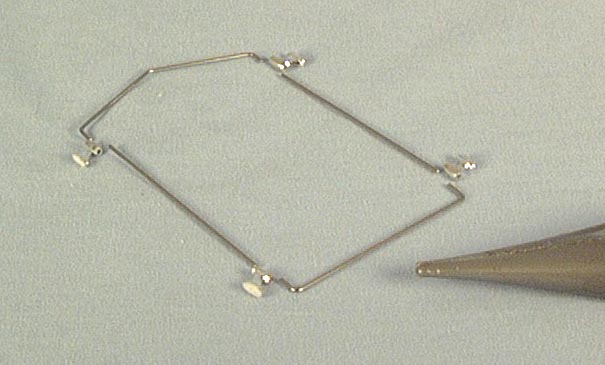
After test fitting, glue all wires in place. Your rack should look like this.
Hope this helps! I found out that how-tos aren't as easy to do as I thought they were!
Dave