 |
|
|
|
 |
|
|
|
|
If you've ever wanted to try a masking tape vinyl roof
on a kit, follow along and I'll show you how!
By: Jeff Corey
|
|
|
|
|
|
|
|
|
If you've ever wanted to try a masking tape vinyl roof
on a kit, follow along and I'll show you how!
By: Jeff Corey
I have assisted upholsterers in my shop with 1:1 vinyl top installations over the years. Many of the same style techniques apply to this method, only in a smaller scale. Vinyl tops gained popularity with Detroit automakers around 1963, and were a common site on a wide variety of cars right up until the late 1980's.
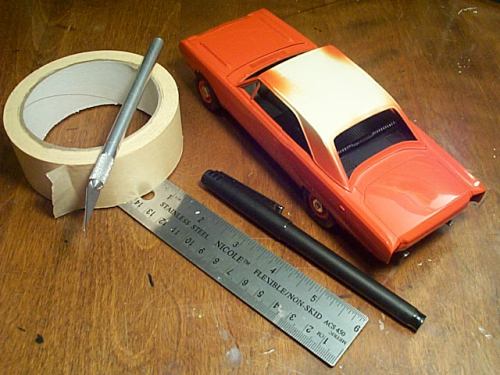
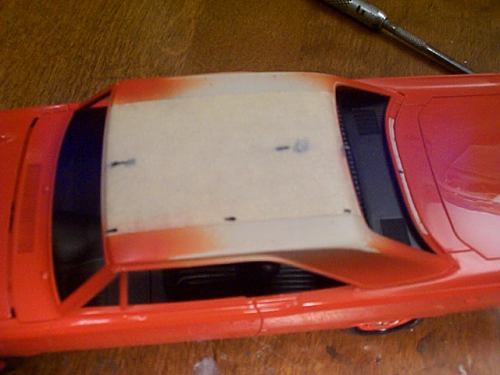
| Step #1: First, you'll need some basic supplies such as an X-Acto knife with a fresh #11 blade, a roll of 2" wide general purpose masking tape (discount dollar brand stuff works fine, no need to buy the big buck 3M stuff for these jobs), a marker or pencil, and a straight edge. I've already installed the strip styrene vinyl top moulding based on reference pics from various musclecar magazines and books. |
 |
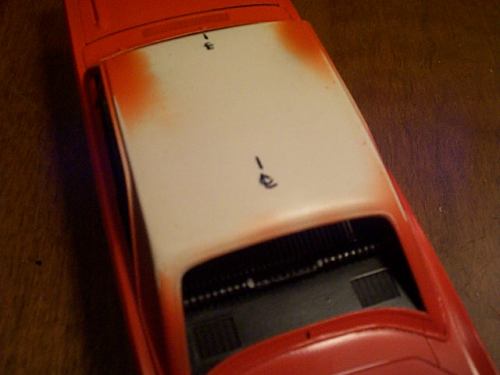
| Step #2: Measure across the width of your kits roof to find the centerline and mark it at the front edge of the windshield header and the back edge, near the backlight. |
 |
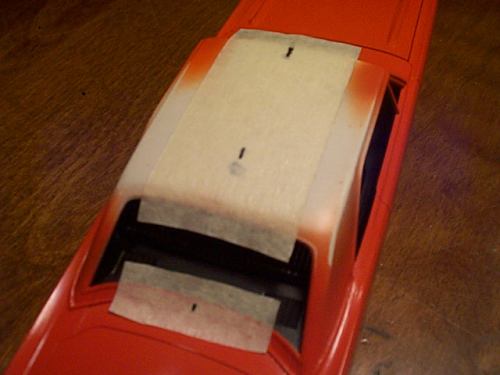
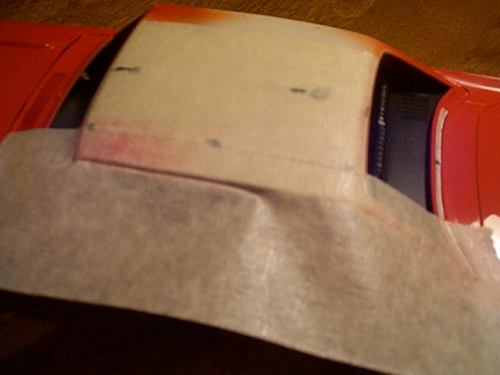
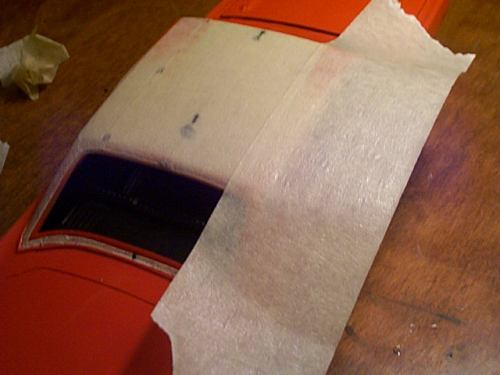
| Step #3: Cut a length of masking tape and measure the center of it (i.e. 1" if you're using 2" tape) at both ends of the section. Then lay the tape over the center area of the roof, with the centerline markings in harmony with each other. On some cars, the vinyl top extended below the rear windows edge in a separate slim section. If needed, as on the Swinger, add a section of tape in the same method as the upper layer. |
 |
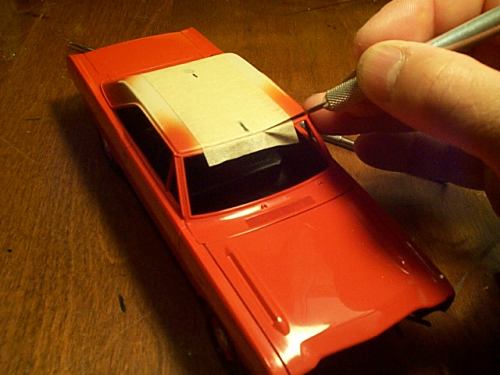
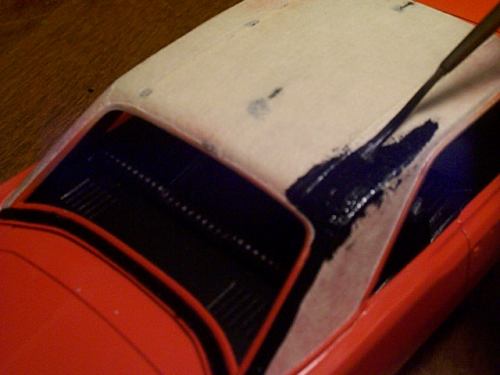
| Step #4: With a fresh #11 blade chucked into your knife's handle make a couple of light passes on the outer edge of the windshield and backglass excess tape and remove the extra from the kit's roof. |
 |
| Step #5: Mark a couple of spots along the edges of your center piece of tape about a 1/16" or 1/32" from the edge. This will be your guide for the outside sections and will give your vinyl top the "heat-seamed" pleat that is common on 1:1 tops. On several GM cars from the 60's and early 70's they only had a single pleat down the center of the roof, but as a dealer or aftermarket add-on I find that the 2 seam versions look the best. As always, have lots of good, reliable reference materials on hand.....and, when in doubt, refer to them. |
|
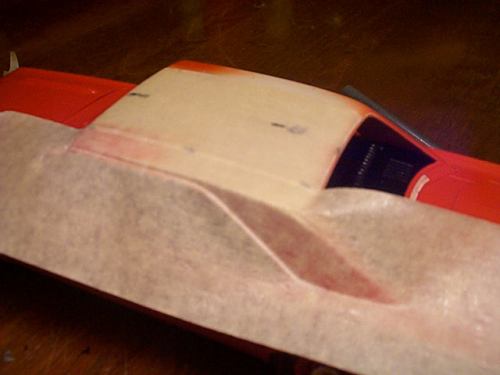
| Step #6: This is why I prefer to use the 2" wide tape rather than narrower widths. It gives you more room to be be able to work and burnish your tape over the different compound curves of the B-pillars, etc. Lightly lay your piece into place, watching carefully to line it up with the markings on the center section, to give enough overlay for the seam pleats that run the length of the top. |
 |
| Step #7: Lightly burnish the tape into place with a soft Q-tip, and work a pointed wooden toothpick along the driprail moulding to get a good tight seal along the edge. |
 |
| Step #8: Cut lightly along the inside edge of the drip rail with your hobby knife. Then, gently peel away the excess tape from the body. |
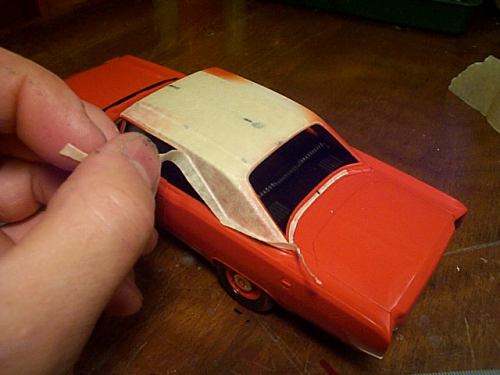 |
| And, if the trimming goes well, you should have a crisp, clean edge on your C-pillar. | 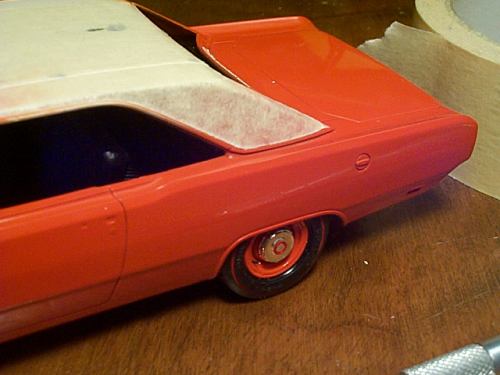 |
| Step #9: Move to the opposite side and repeat the steps that were involved in doing the driver's side, keep an eye out to make sure that things are lookin' even from side to side. If in doubt, just peel away the offending section and start fresh. |
 |
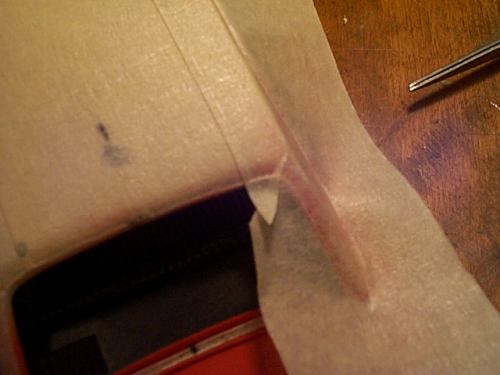
| Step #10: You might find that sometimes in close fitting quarters that the tape might want to bunch or pucker. No problem, just lay it down as close as you can. Then cut away a pie-shaped relief in the tape and remove that small piece. The fine cut line will be impossible to see after the paint has been applied, so don't sweat it. |
 |
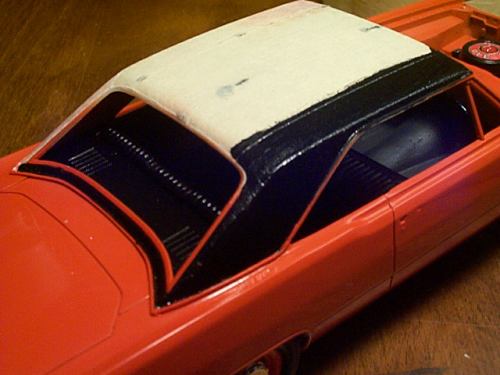
| Step #11: As on the driver's side just trim away the excess tape and burnish everything down lightly one more time. Your gettin' close to being finished, just a few more steps to home base! |
 |
| Step #12: Now it's time to add some color! Vinyl tops came in many tones and textures (even alligator grain and those zany Mopar Modtops!), but a nice coat of semi-gloss black or white will add just the right amount of contrast to your musclecars unique base color. I prefer to use some thinned Testor's Black Chrome for my black vinyl tops, it seems to have just the right sheen to it when dry. I like to use a long bristled yet thin brush which will hold a good amount of paint in it and still allow good control to let it run next to the mouldings. |
|
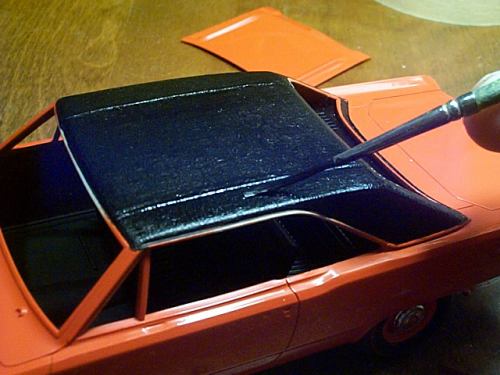
| Step #13: Paint each section of your vinyl top (lt side, center, and rt. side) as separate sections. This will provide a cleaner look than if you just went wild and brushed the paint on in any ol' pattern, check your coverage by holding the model at different angles in good light to locate thin spots and retouch them if necessary. |
 |
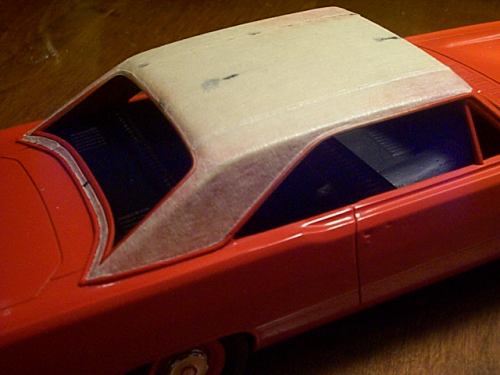
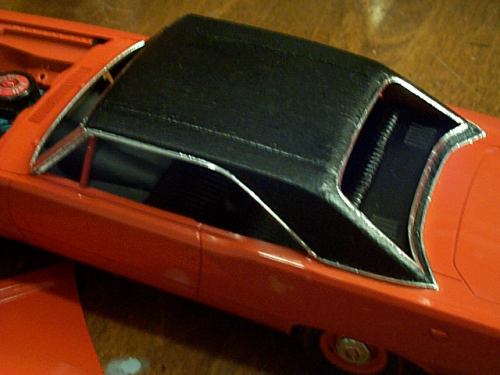
| Step #14: You're almost done! Notice how the heat seam pleats show up and add to an authentic vinyl top installation in scale! |
 |
| Step #15: While the paint is curing, dig around and find your sheet of BMF and we can get some sections measured and cut for some window glass and drip rail garnish moulding trim, to cap off our new vinyl top. |
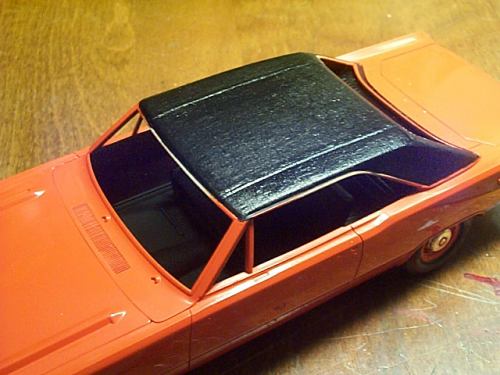 |
| Step #16: Lay your BMF over the raised window and drip rail trimmings and trim away with a fresh new #11 blade to insure a crisp, clean edge. If necessary touch up any minor nicks in the paint and congradulate yourself on adding a detail that will make your new model stand out from the crowd. |
 |
Most installations will run about an hour, and this time can be reduced with some practice. As for the longevity of the masking tape vinyl tops, I have some kits with them installed over five years ago, and they still look as fresh as the day I put them on.
I've seen some vinyl tops done with paint only, applied with texturing from an airbrush, and it is a very convincing method as well. I believe that whichever method you choose will be the best for you, based upon how comfortable you are with the steps involved in each procedure. Hope this hasn't been too drawn out and boring, but I just wanted to share a tip that I like to use and hopefully some of you can benefit from it also. Enjoy!
Jeff